Smart Flooring Tips
Replacing the floors in your house is a big job. It is one of the most exciting parts of home improvement. New floors can change the whole look of a room. They make your space feel clean and fresh. However, doing it right takes a lot of planning. If you want a smooth and long-lasting result, you need to follow the right steps. Many people in Texas look for help from experts like cost plus houston to get the best value. In this guide, we will walk you through everything you need to know to upgrade your home with confidence.
Start with a Solid Plan
Before you pull up your old carpet or tile, you must have a clear plan. First, think about how you use each room. A kitchen needs a floor that can handle water and spills. A bedroom should feel cozy and warm. Because every room is different, you might choose different materials for each area.
Next, you need to set a realistic budget. Flooring costs can add up fast when you include the subfloor prep and the trim. It is helpful to look at residential construction trends to see which materials last the longest. While it is tempting to pick the cheapest option, high-quality materials often save you money in the long run because they do not need to be replaced as often.
Choosing the Best Materials
There are so many choices today. You can pick from wood, tile, vinyl, or laminate. Hardwood is beautiful and classic, but it can be pricey. On the other hand, luxury vinyl plank is very popular right now. This is because it looks like wood but stands up to water very well.
When picking your material, consider these factors:
-
Durability: Will it scratch easily if you have pets?
-
Moisture: Is the room prone to getting wet?
-
Maintenance: How much time do you want to spend cleaning?
-
Installation: Are you doing it yourself or hiring a pro?
If you are torn between a total remodel or building something new, you might want to learn more about home renovation vs new construction to see what fits your goals. This choice often depends on the current state of your foundation and your long-term plans for the property.
Preparing the Workspace
Preparation is the most important part of the job. If the ground underneath is not flat, your new floor will fail. Start by removing all the furniture from the room. Then, carefully take off the baseboards. You should try to save them if you want to put them back later.
After the old floor is gone, check the concrete or wood underneath. It must be clean, dry, and level. If there are bumps, you might need to sand them down. If there are holes, you will need to fill them with a leveling compound. Taking time here prevents squeaks and gaps later on. According to the Environmental Protection Agency, keeping your indoor air clean during this dusty process is very important for your health.
The Importance of Acclimation
Many people skip this step, but it is a big mistake. Wood and laminate floors need to sit in your house for a few days before you install them. This is called acclimation. Because wood expands and shrinks with heat and humidity, it needs to get used to your home’s air.
Simply stack the boxes in the room where they will be installed. Open the ends of the boxes to let air move through. This simple step prevents the floor from buckling or warping after you put it down. Even in a fast-paced building project, waiting forty-eight to seventy-two hours is worth the time.
Tools You Will Need
To do a professional job, you need the right tools. You do not always have to buy them; many local shops let you rent big items. Having the right gear makes the work much faster and safer.
Here is a list of common tools for flooring:
-
Tape measure and a pencil for marking cuts.
-
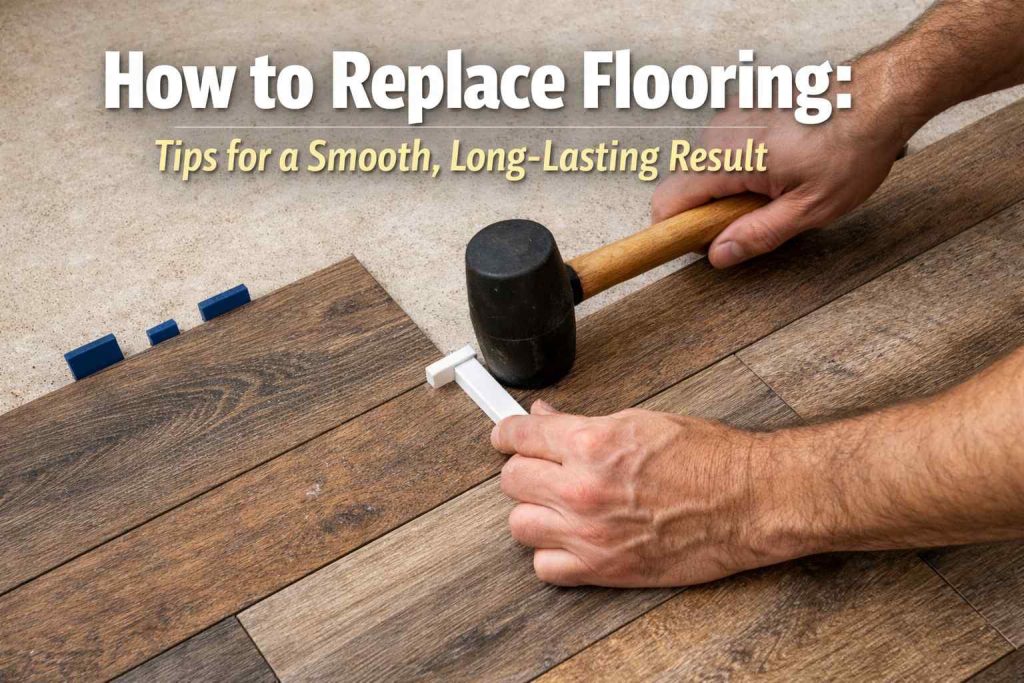
Rubber mallet to tap pieces into place without damage.
-
Spacers to keep the right gap near the walls.
-
Power saw for cutting the ends of the boards or tiles.
-
Knee pads to protect your joints while you work.
Using these tools correctly ensures your architecture looks sharp and the lines stay straight. If you feel unsure about the tools, you can always ask for advice at a local hardware store or search for a licensed contractor to help.
Step-by-Step Installation
Once the prep is done, it is time to lay the floor. Start from the longest wall in the room. Use spacers to leave a small gap between the floor and the wall. This gap is important because it lets the floor move as the weather changes.
As you go, make sure to stagger the joints. This means the ends of the boards should not line up in a straight row. Staggering makes the floor stronger and look more natural. Always double-check your work every few rows to make sure everything is tight and straight. For more tips on safe building practices, you can visit OSHA to learn about staying safe on a job site.
Why Quality Matters
A great floor adds value to your home. It makes the interior design pop and feels good under your feet. This is why many homeowners choose to work with cost plus houston when they want the job done right. We take great pride in our work and the happiness of our clients.
In fact, we are very proud of our reputation in the community. Our team works hard to earn five-star ratings every day. You can see what our happy customers are saying by checking out our Google Business reviews. These reviews show our commitment to being the most trusted name in the area. We love helping people turn their houses into dream homes.
Finishing Touches
After the main floor is down, you are almost done. Now you need to install the transitions. These are the pieces that go in doorways where two different floors meet. They hide the gaps and prevent tripping.
Next, put your baseboards back on. Nail them into the wall, not the floor. This allows the floor to “float” or move slightly underneath the trim. Finally, give the new floor a good cleaning. Use a cleaner that is safe for your specific material. Now you can move your furniture back in and enjoy the new look of your real estate.
Common Mistakes to Avoid
Even pros can make mistakes if they rush. One common error is not checking for moisture. If your structure has a damp subfloor, it can ruin new wood or laminate very quickly. Always use a moisture meter if you are unsure.
Another mistake is not buying enough material. You should always buy about 10% more than you think you need. This covers any mistakes made during cutting. It also gives you extra pieces to keep in the garage in case a board gets damaged years from now. This is a smart way to manage your property maintenance long-term.
Frequently Asked Questions
How long does it take to replace a floor? Most rooms can be done in one or two days. However, you must add time for the material to acclimate and for the prep work. A full house might take a week or more depending on the size of the floor plan.
Can I put new flooring over old flooring? Sometimes you can. If the old floor is flat, thin, and stuck down well, you might be able to go over it. However, it is usually better to remove the old layer to check the structural health underneath.
How do I choose between DIY and hiring a pro? If you have the tools and time, DIY can save money. But if the job involves complex tile patterns or expensive hardwood, hiring a professional ensures it lasts for decades without issues.
Final Thoughts and Next Steps
Replacing your flooring is a wonderful way to invest in your home. It improves your daily life and increases the value of your house. By choosing the right materials and taking the time to prepare, you ensure a result that looks great for a long time. Whether you are doing a small update or a major remodeling project, focus on quality at every step.
If you need help with your next project or have questions about your home, we are here for you. At Cost Plus Construction, we believe in honest work and great results. You can reach our hotline office at (713) 530-1610 to discuss your ideas. Let’s make your home beautiful together!